Are you using ShopSite PRO to it’s fullest potential?

Reward Your Customers

Did you know ShopSite has a rewards program you can offer your customers? Why not have your customers feel special by being a “loyalty” customer!

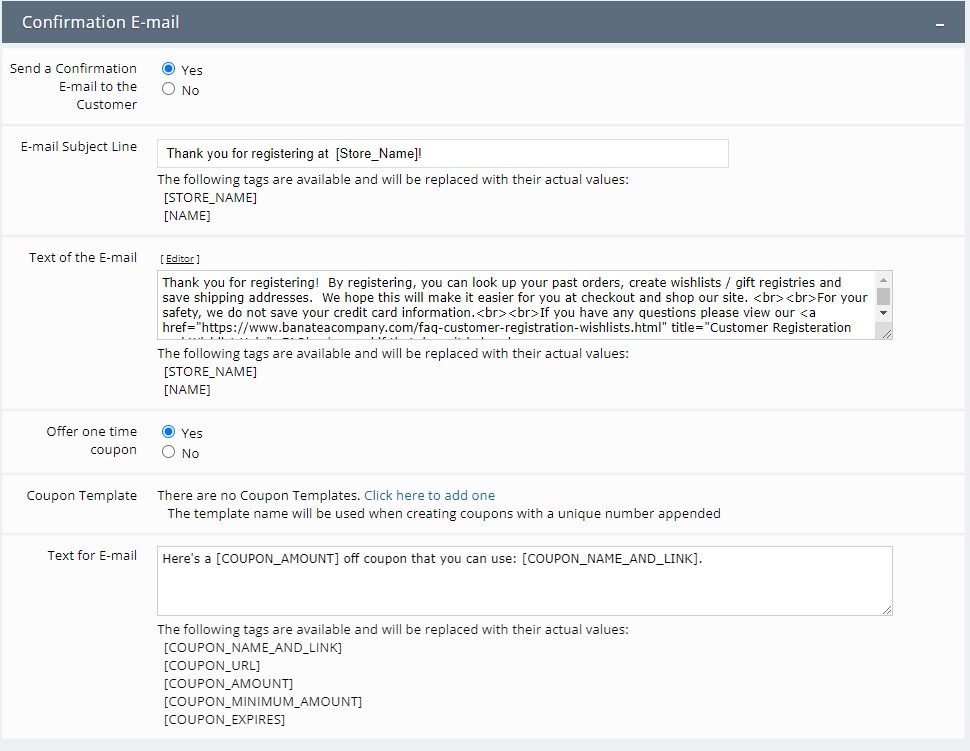
To do this, make sure you are using “customer registration”. You can then put your registered customers into groups. You can use these groups in a few different ways. Be sure to encourage your customers to create an account and become a registered customer … offer them a coupon to signup – this feature is found under customer registration > configure.
Assign Customers to a Group

Easy-peasy: Go to commerce > customer registration , click on groups then add. Create as many groups as you want for as many reasons as you want. Maybe a group for frequent shoppers, maybe one for new customers to entice them to keep coming back. Think about what kind of customers you have and what you want to them to do.

Specialty Coupons

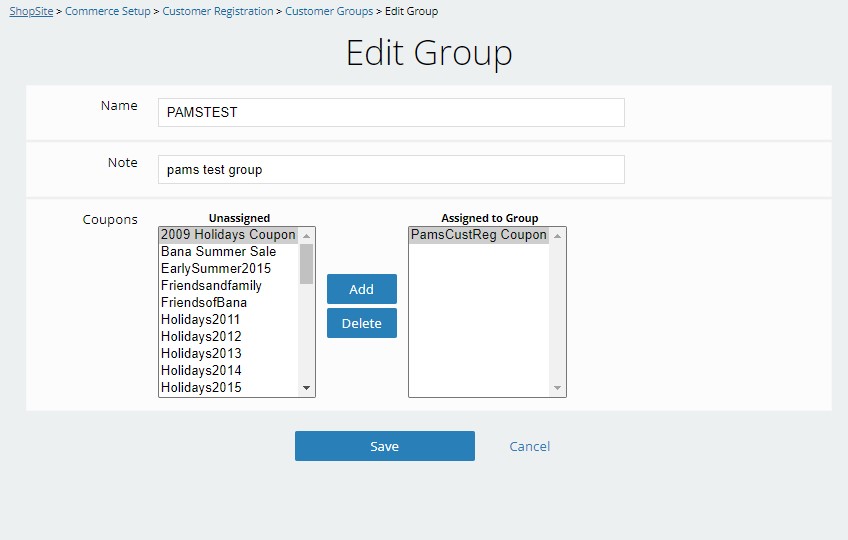
First create your coupons for your new customer groups: merchandising > coupons, add, save. Now go back to commerce > customer registration, groups, edit the group. Now assign the coupon(s) to the group, don’t forget to save. When your customer logs in now, they will see the coupons assigned to them.
Customer Rewards

Create a rewards program, something like:
– buy 10 get the 11th free
– buy 15 and get a different product free
– buy 20 pick from 5 different products to get free

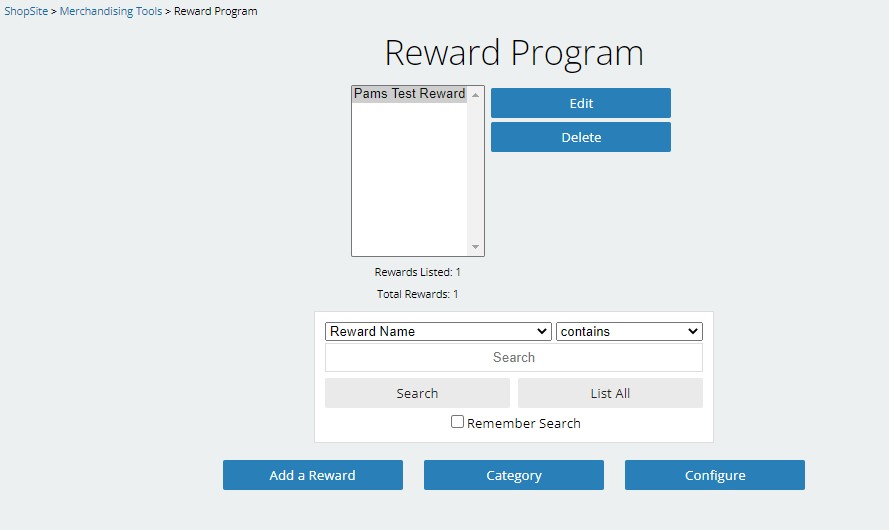
To create the reward, go to  merchandising > reward program you create a reward category (it has the items that qualify as being counted towards the reward) and a reward group (the items the customer can get free when they meet the reward).  As long as they login when they purchase, the system will keep count of how many they purchase automatically.  You don’t need to.  When they get to that quantity you assigned, they can add the “free” item to the cart and it will show up with a 0 price. 
Tips

Don’t forget the “Help” button in ShopSite. Use it when you are stuck directly from the area you need help with and it will take you directly to the help you need.

ShopSite’s help isn’t enough? Let me know, I’m glad to help. :0)

Pinterest Gifts Feed and ShopSite

Pinterest Gifts Feed

What is the Pinterest Gifts Feed?  Taken directly from the Pinterest site:

“We know people love to use Pinterest for shopping ideas, which is why we’ve created a new Gifts feed of all the different things you could buy.

The work-in-progress feed lives with our regular categories but it’s special because it only shows Product Pins. Product Pins show extra details like pricing, availability and where to buy right on the Pin so Pinners can decide which products are right for them.

So far, we’ve learned that Product Pins get higher click-through rates than regular Pins and make your brand more visible because of the logo on the Pin.  Pinners also get email notifications when Product Pins they’ve saved drop in price.

The Gifts feed also includes a few price filters so you can find something for every budget. $$$$ means the price is greater than $200, $$$ means the price is between $50-$200, $$ means the price is from $25 to $50 and $ is anything less than that.”

Certainly seems like something any seller would want to include with their products.

How do you do it?

PInterest requires you to have what they call “rich pins”.  Check out their developer page for more on this.  ShopSite makes it easy.  Using ShopSite’s custom templates, you can add the information to the head section of the product page and ShopSite will fill in the info for you that is required.  Keep your custom template clean by creating an “include” file that holds this information.  Then wrap product specific ShopSite tags with open graphic tags.  You then have to verify you have done this correctly with pinterest.

Oh, and an extra benefit … Google will also read this information and it will help them in displaying your pages in searches.  :O)

Happy pinning!

Adding Products on Pages in ShopSite

There are a few ways you can add products to your category pages in ShopSite.  You can go to the PRODUCT and add the pages the product is on, OR you can go to the PAGE and add products on the page.  If you are familiar with uploading products, you can do it through an upload.  The first two methods are below.

Adding pages to a PRODUCT

  1. Log in to ShopSite
  2. Click on Products
  3. Find your product (use the search for name or SKU), click on it
  4. Click on Edit Product Info
  5. Scroll down to Product Pages, click on the Select button
  6. Click on pages in the “Product is not in these Pages” section then click on Add, then OK. (TIP: click in the box, then start typing the beginning of the page name, it will jump you down to that page.  TIP2: Holding down the CTRL key will let you pick more than one page at a time.)
  7. Scroll down and click on Save.
  8. Publish when done.  TIP:  you do not have to publish after each one.  You can do a bunch then publish. Publishing shows you your changes.

Adding products to PAGES (TIP: use this method when adding lots of products to a page)

  1. Log in to ShopSite
  2. Click on Pages
  3. Find your page (use the search for name), click on it
  4. Click on Assign Items > Click on Product then proceed
  5. Pick products in the products not assigned section then click on Add, then save changes. (TIP: click in the box, then start typing the beginning of the product name, it will jump you down to that page.  TIP2: Holding down the CTRL key will let you pick more than one product at a time. TIP3: you can search for a certain word in the product and it will display only those.)
  6. Click on pages in the “Product is not in these Pages” section then click on Add, then OK.
  7. Publish when done.  TIP:  you do not have to publish after each one.  You can do a bunch then publish. Publishing shows you your changes.